
AI Identity Swap Guide
by BEDOPE
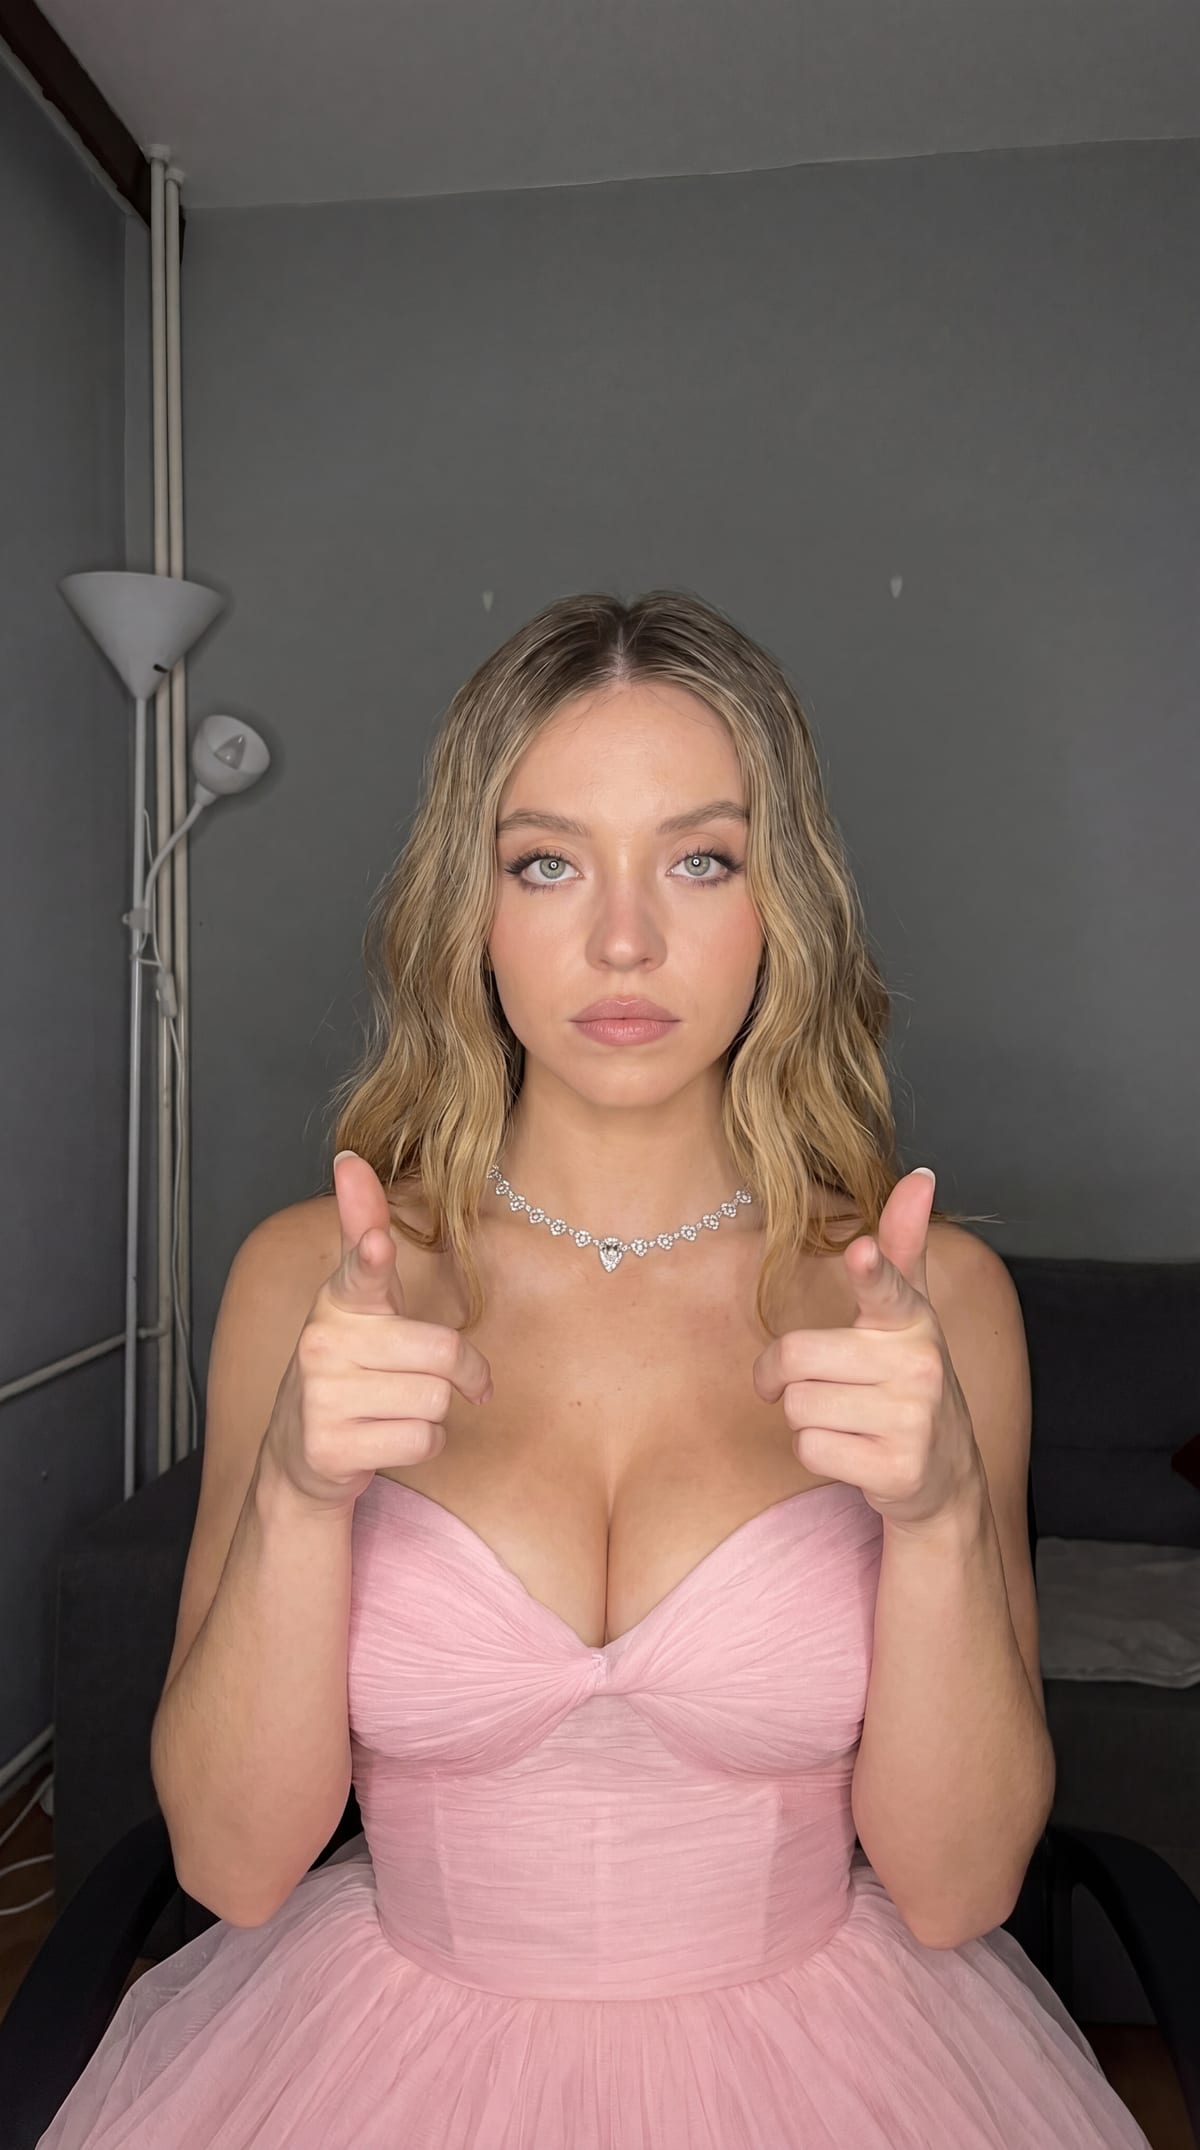
Turn into anyone. Same day.
This is the workflow I personally use to turn myself into any character with AI-driven motion — smooth, realistic, and ready to share. No studio, no editing skills. Just a repeatable process anyone can follow.
AI Portrait
A sharp, realistic AI portrait of you as the character of your choice, generated from two reference photos.
Animated Result
A short clip where your character moves convincingly, without stiffness or visual glitches.
Single Workflow
Everything happens in one platform, using your phone and a couple of AI tools — nothing else required.
STEP 1 — YOUR BASE PHOTO
Your base photo sets the stage for everything that follows. Shoot it in the exact spot, outfit, and lighting you plan to use for your final recording — matching these details now will save you from mismatched results later.
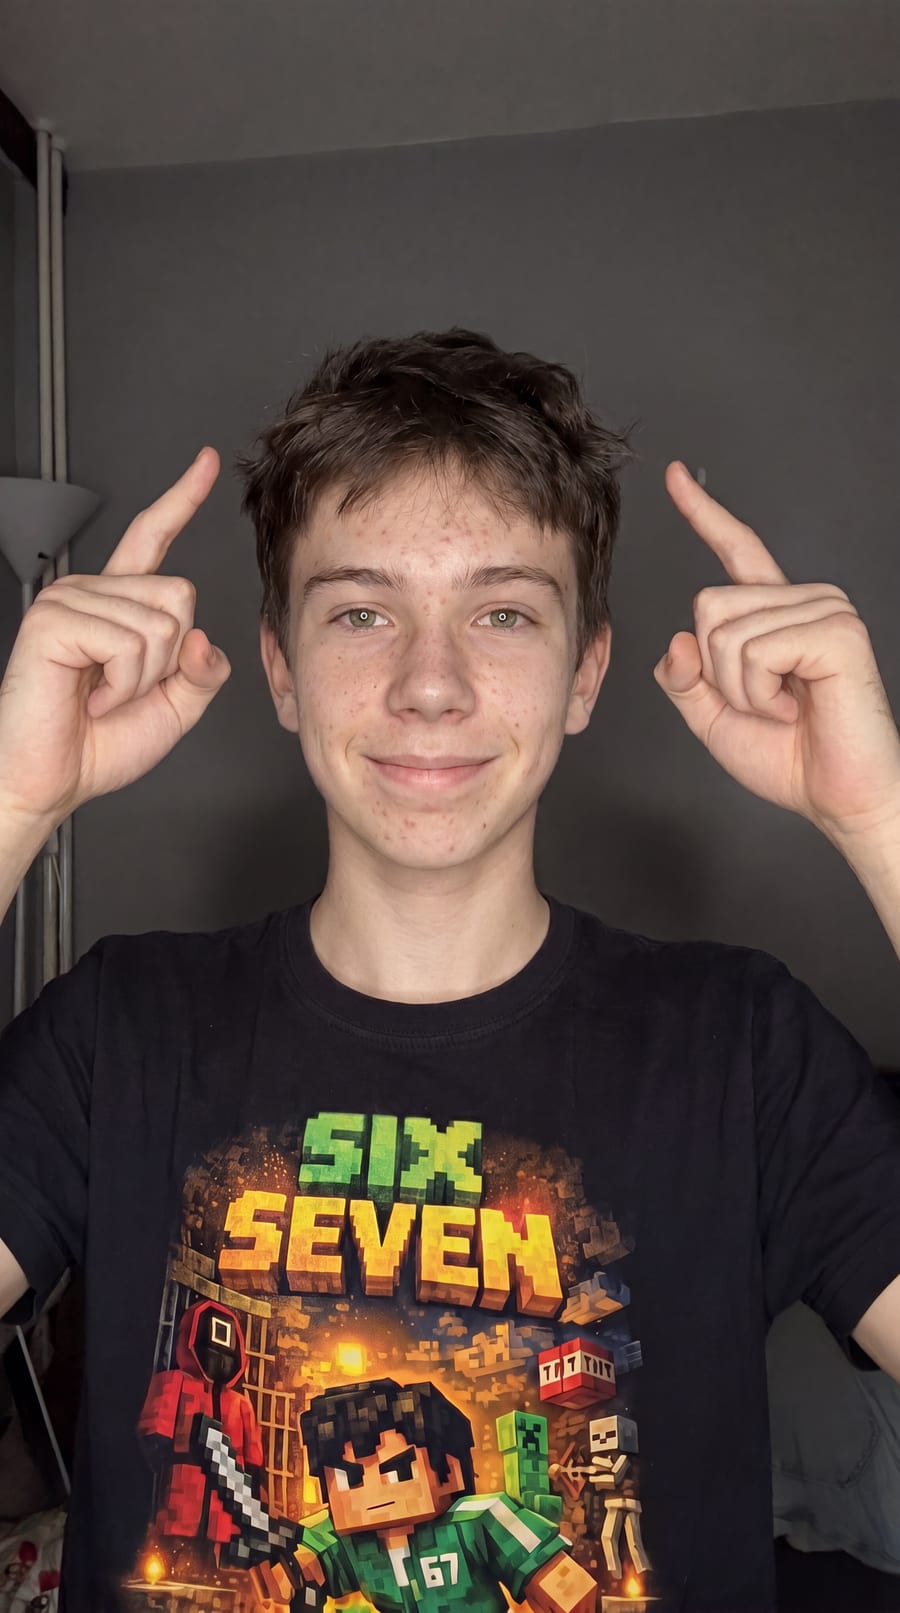
Keep the shot simple: plain background, even lighting, and a steady camera. The cleaner the input, the cleaner the output.
WHAT YOU'LL NEED
A smartphone camera
Any recent phone camera is sharp enough for this.
Even lighting
Window light or a soft lamp works well — avoid harsh shadows.
A plain background
A blank wall keeps the focus on you.
STEP 2 — PICK A CHARACTER REFERENCE
This single image sets the entire look of your transformation, so choose it with care.
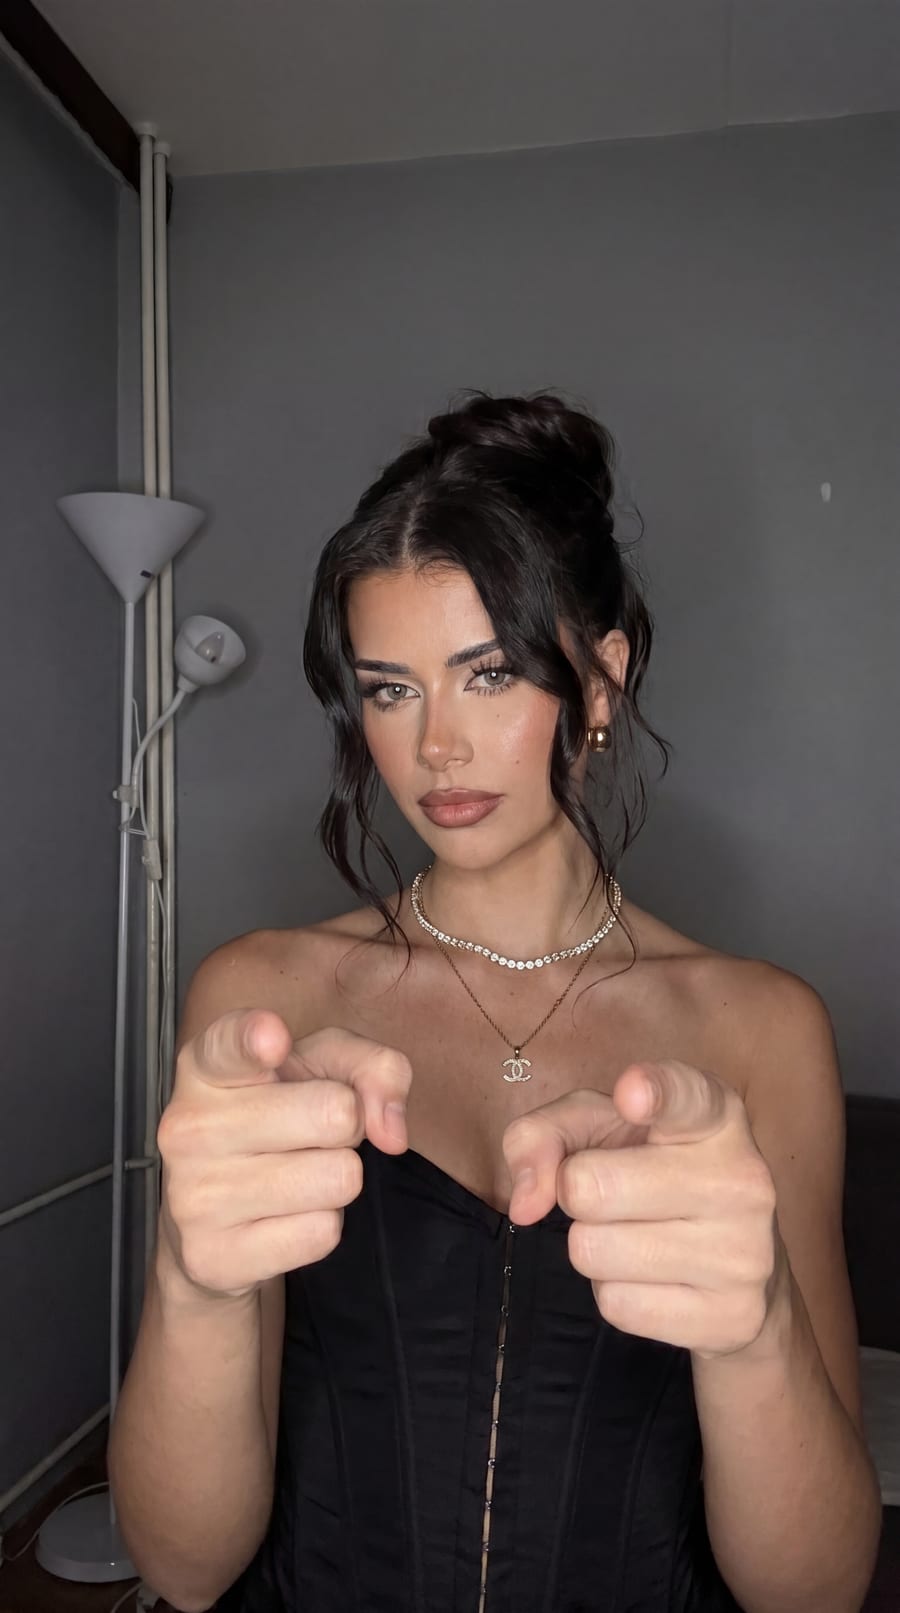
WHAT MAKES A STRONG REFERENCE
- Sharp resolution — Blurry sources lead to blurry, warped faces.
- Face clearly visible — Front-facing shots give the model the clearest signal.
- Minimal background clutter — One subject, simple scene — nothing competing for attention.
Any weaknesses in your reference image will carry straight through to your final result.
STEP 3 — GENERATE YOUR AI PORTRAIT
Combine both images into a single photorealistic portrait — this step depends heavily on how your prompt is written.
- 1Open the Image tool.
- 2Select the portrait-merge model.
- 3Upload your base photo and character reference.
- 4Generate at the highest resolution available.
STEP 4 — RECORD YOUR MOTION REFERENCE
Your recorded video teaches the AI how to move. The closer it mirrors your generated portrait, the smoother your final result.
THE FOUR MATCHING RULES
Same outfit
Wear what's shown in your AI portrait.
Same spot
Film in the same location and framing.
Same lighting
Match the direction and softness of light.
Same angle
Keep the camera distance and angle consistent.
Simple, slow movement works best — subtle turns and natural gestures. Fast motion tends to break the illusion.
STEP 5 — BRING IT TO LIFE
This final step maps your recorded motion onto your AI portrait.
- 1Open the Motion tool.
- 2Upload your AI portrait as the reference.
- 3Upload your recorded video.
- 4Generate.
COMMON MISTAKES
Mismatched angles
Forces the model to guess, producing visible glitches.
Inconsistent lighting
Different light sources between photo and video create flickering artifacts.
Low-quality references
Weak source images always lead to weak results.
Overly complex motion
Simple, deliberate movement outperforms fast gestures every time.
You've got the full workflow now. Experiment with different characters and lighting setups until it clicks — then it's just repetition.
Start Creating